
Remote desktop
Windows 7 and later: download and handbook
To access the session Remote Desktop, it is necessary to download the file “Identificazione utente remote.rdp”
Open a connection
- After the download of the file “Remote User Identification.rdp”, execute the file through double-click to start the Remote Desktop session.
At the first start, you may need to tick the field “Do not show this message for remote connections from this author”:

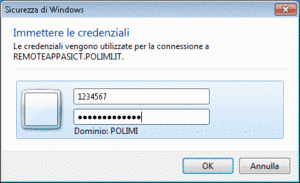
- Enter your Polimi credentials (Person code and pw)
- You access the Remote Desktop session where you will find the program User Identification (by clicking the icon, the credentials will be requested once again to access) and other applications available (for example, Office).To reduce the Remote Desktop screen, use the dedicated buttons on the top right window
Close a connection
After work, it is necessary to close the Remote Desktop connection:
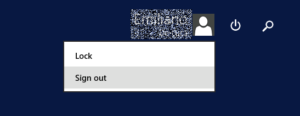
- click on the lower left button on the desktop
- click on your name in the top right corner
- select Sign out.
Save or export documents
Files saved to Disk applications, outside the folder My Documents or Desktop, cannot be reached outside from the session and cannot be moved in local.
Save on structure disk
The disk structure is automatically mapped by accessing the Remote Desktop session, and is listed in My Computer.
In case the disc is not available, contact the help desk or your IT manager to check access permissions.
Use the default printer
To use this feature, you must configure the package TSPrint Client as follows.
- close all Remote Desktop connections
- download .net framework 4.6.2 at the address: https://www.microsoft.com/it-it/download/details.aspx?id=53344
- download TSPrint Client for Windows and
- start the installation program
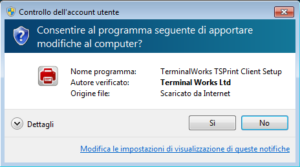
- if the window appears with the safety warning, confirm by pressing the Run button
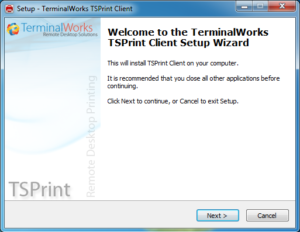
- click Next button
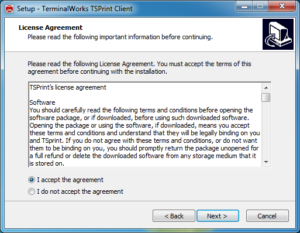
- accept the license terms and continue
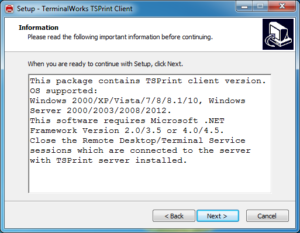
- check the installation requirements and continue by clicking Next
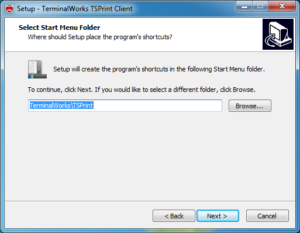
- keep the default parameters suggested by the program and continue by clicking Next
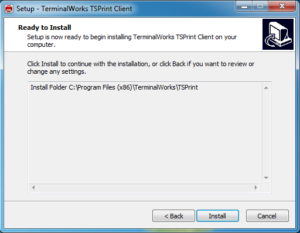
- continue the installation by clicking Install
- verify the correct execution
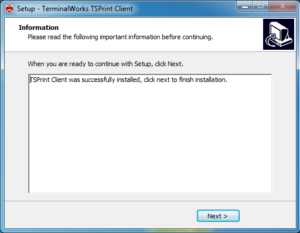
- complete the installation by clicking on Finish
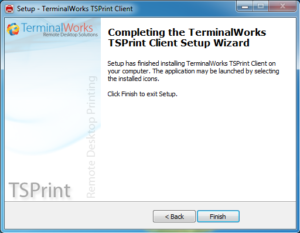
- Now you can print from the Terminal on your default printer, set on the client from which you have the Remote Desktop connection.

Customizations of the program files
Within the Remote Desktop session, you will find a Desktop shortcut defined Application Disc, through which is possible to reach the folders of the programs executed by the User Identification for modifications and customizations of the program files.
Support
call us:
02 2399 2500
mon-fry: 8.30-12.45 / 13.45-17.00
write us: